- Worm Castings - Worm Poop! Excellent fertilizer and infinitely gentler than other fertilizers. Will not cause root burn
- Cow / Horse Manure - Cow & Horse poop! Well this one's a no-brainer and I'm sure even non-gardeners will understand it
- Humanure - Human Poop! Apparently, you call it humanure if you're into composting. You call it $hit if you're not
- Bat Guano - Bat & Cave Dwellers Poop! - This one, I just discovered today after a quick Google search. Apparently, all the good stuff are poop. Why the terminologies are different, I do not know.
- Dog / Cat Feces - Still poop! Somehow, most gardeners look will avoid these for composting purposes because they supposedly carry dangerous pathogens.
- Bone, Blood, Worm, Corm Meal - Apparently, when it's called Meal, it's a powdered version. Bone ground into powder is bone meal, blood dried and powdered is blood meal, worms dried and powdered are worm meal, and corn dried and powdered is corn meal. Each one supposedly has its own special nutrient (I didn't keep track of that).
Showing posts with label GREEN HORIZONS. Show all posts
Showing posts with label GREEN HORIZONS. Show all posts
Tuesday, February 01, 2011
Much Ado About Feces
Since starting my gardening and worm composting adventures over a year ago, there are persistent terms that keep coming up from seasoned gardeners. So I decided to finally check them all out.


Sunday, October 24, 2010
Aluminum Side To Maximize Plant Sunlight
 There are certain kinds of herbs that just won't thrive in my garden. What's common with Oregano Thyme, Lavender and Rosemary? These are supposedly the low maintenance plants that you should just leave in one corner of your garden. Just ignore them and they will thrive or so they say. These are plots that love hot and dry conditions. Unfortunately, it's the rainy season. I try to compensate by hardly watering my Lavender and Rosemary (my Oregano Thyme has since moved on to a better place), but I want to do more for them.
 I got two ideas while reading up on sunlight maximization: an aluminum siding and aluminum mulch. Hey, that's something even I can do. I also read that it balances the light source. Otherwise, the plant will bend and grow towards the sun (oh I see that a lot!) So I finished my cereal, got the aluminum inner container and I taped two chopsticks on each side. Then I plugged those by the side of the pot. It's harder to describe than I though, so just look at the pictures. ;-) Hopefully, the reflective surface will provide my plants with a lot more sunlight.
 I've also been eating Chocolate Mallows which have aluminum wrappers. I shredded those and used those for my lavender mulch. In keeping with my recycling thrust, I also kept the cereal box for future bedding of my worm bins.
Monday, October 11, 2010
Welcome New Plants
 Well I admit. I've been writing about my worms too much that I haven't written about other new denizens in the garden. Today, let's do a little introduction. First of is an Okra (Abelmoschus esculentus Moench) which Jean raised from seed. It supposedly only started growing rapidly once it reached my sunny front yard. Well hello Mr.Okra. I am sorry to say that I don't eat you. So keep growing, but you won't be my favorite anytime soon. ;-)
  And then, there's also a Kangkong (Ipomoea aquatica). Now this is a different story. Jean also raised this from seed and it also started thriving in my front yard. However, the difference is that I eat Kangkong. I like adobong kangkong with lots of siling labuyo or kangkong in Sinigang na Baboy. But here's the problem. I just have one plant. It's hardly worth it to cook one stalk, after all. Hmmm...maybe I should plant more kangkong seeds.
 Third on the list is a Marigold (Calendula officinalis). It's probably currently a famous plant because you need it to get sunshine in Plants vs. Zombies. This is another Jean baby (are you noticing a trend in the plants I don't pay attention to....hehehe). I recently repotted it (into a bigger one) because I hear this can be a big plant! Now unless there are real zombies in my garden, I'm not sure what use I'll have for this plant. My personal philosophy now is to only plant and grow things that I can eventually eat. We'll see.
  Finally, there's a Tarragon. I actually had Tarragon cuttings months before but none of them survived the rooting process. I bought my big Tarragon plant in Tagaytay. It was a tad overpriced, but hey. I couldn't find it elsewhere. And so I bought one. Now, what you see in the picture is not what I bought. These are from my recent cuttings. See how big they've become. Yeah, they look like grass, but they smell like rootbeer. And I've tried dried Tarragon in my salad and in my minestrone (another story) and it's alright. I've yet to try my own plant, but I'll get there. And there you go. Say hi to my new plants!
Tuesday, October 05, 2010
Hydrangea in Heat

 It's been a while since I talked about my hydrangea. The last time, I had a small cutting that finally rooted after months of being in a glass of water. Sadly, that cutting died after I transplanted it in soil because I was confined for a week and no one really took over my watering chores. It burned to death. Anyway, I still have my big hydrangea. Just for fun, I took pictures of it while it was melting under the heat of noon. Check out the pictures of the same plant. The first one was taken at around 11:30 AM and the second one at 4:00 PM. Note that I watered this plant early in the morning.
 Apparently, the plant recovers even without watering. Once the weather cools, the leaves become fresh again. Nonetheless, I guess it helps to heavily water the hydrangea plant before it gets hit by the heat. After all, I got this plant from Tagaytay, so it may still not be used to the Manila heat.
Saturday, October 02, 2010
Growing a Mango Tree
 Remember my mango plants? Those mango plants are what started my gardening resurgence after about a 15-year hiatus. That was almost a year ago. Since then I've moved on to mostly herb gardening and now most recently vermicomposting. But hey, let's look at my old favorites.
  As you would see in the pictures, the plants are still relatively small. I mean they are almost a year old. My Cat's Whiskers are bigger than them! I guess I have to give them credit though. They survived my backyard when every other plant died of one disease or another. I guess that means they're hardy plants. They remained healthy although the soil in the pot is always wet. In fact, all the companion plants of these mangoes (mints and basil) died.
Anyway, like all my other plants, I moved them to a sunnier location. Hopefully, the next couple of months will be more productive for them in terms of growth compared to the past couple of months. And since the soil level of these plants are pretty low, maybe I can use my first batch of vermicompost for them!
I wonder how long I can keep them potted. Hmmmm...
Welcome Onion!
 Remember my garlic plants? They died like most of my other plants in the backyard. I planted my garlic in a big pot with lots of soil because it's supposed to bear fruit underground. Well that's double edged in a place with limited sun. It must have suffered root rot with all the accumulated water. Oh well. I've since replaced that garlic with Cat's Whiskers. Quite a different experience, Cat's Whiskers thrive with heavy watering. Instead of getting root rot, it's growing out of control. But that's a different story.
It just seems right that after talking about garlic, I should talk about my new onion plants. I didn't mean to plant onion but Jean (who adores my worms) had some onion from the store that grew shoots. And so she gave it to me for planting. Why not I figured. I'm not sure if they bear fruit underground though. I haven't done my mandatory research. But anyway, look at them now. It loos like they're thriving in the sunny yard (near the Gotu Kola). Then again, my garlic looked like that for a while. I plan to add more soil to that pot anyway; perhaps when I harvest my vermicast.
Anyone with tips on raising onions?
Thursday, September 30, 2010
Healthy Gotu Kola (Finally)


But here's some good news. I moved a lot of my pots to a sunnier location and it looks like they're thriving. In the shady backyard, everything seemed to be dying. I figured I'd try to move some Gotu Kola. I cut up part of the plant (the runner) and planted it in potting soil and moved it to the sunnier location. About two weeks later, here's what the plant looks like. Is it just me or are the stems actually fat? OMG I think I've done it. All that reading about Gotu Kola needing a swamp like environment is useless. I tried flooding it and it died! It's like any other herb. It needs healthy, well draining soil and lots of sun. Well, check back in two weeks and let's see if this plant continues to thrive.
Presenting: My Worms
My prior post on vermicomposting was somewhat incomplete. Naturally I had to show you pictures of the worms. Well they're not exactly playing on the surface so I raked some contents from the bottom to the top. And this is what I got. You may have to zoom the pictures a little to see my little pets. If you look around the picture too, you'll see that there's a noticeable portion that looks like soil already. At least I know my worms are feeding well. More importantly, they're pooping well! Nonetheless, I promise not to feed them for the next two weeks to see if my bin will look a lot more processed then. Sigh...but it's so much fun feeding them! I'm glad though Jean is very supportive of my worm fascination.


Wednesday, September 29, 2010
Vermicomposting: My New Fascination
It was bound to happen. Any true blue gardener would attempt to compost at one time or another. This is my story.
One quiet Sunday afternoon about two months ago, I took Jean on a drive to Concepcion, Marikina. It was an hour-long drive to some faraway place. Why? Well about a week before, I stumbled upon an ad of a guy selling African Nightcrawlers. Apparently, this type of worms is used for composting. I was amazed. These worms eat organic garbage and their castings (poop) make for rich fertilizer called vermicompost. I was hooked on the concept. After all, I am the same guy that saves rainwater to flush the toilet and uses old bottles as flower pots. The recycling angle tickled me.
So I happily bought 250 grams worth of African Nightcrawlers for P250. Yes, they are expensive. For lack of a container to transport them in, we used the Starbucks grande cup that I just used. Grande worms!
Over the past few months, I have been attempting to compost in a large pot, but it was just happening so slowly. Nonetheless, that was my source of somewhat decayed organic material. Where does that come in?
Well, to create a good environment for the worms, you need bedding made up of shredded wet newspaper and some semi-composted material. So I put in the newspaper in the bin and added the contents from the pot I talked about. Then I put in the worms.
Two months and regular inputs later, here's how my bin looks like. Still lots of green material, right? Makes me scratch my head sometimes. Then again I have been regularly putting in fresh stuff. I guess for me to really observe the conversion of organic material to worm castings, I have to stop feeding the worms. Sigh. But it's so much fun. Oh well. I will try to leave this bin alone (no feeding) for about two weeks. Let's see what it looks like then.
Next time, I'll talk about worm bin # 2.


One quiet Sunday afternoon about two months ago, I took Jean on a drive to Concepcion, Marikina. It was an hour-long drive to some faraway place. Why? Well about a week before, I stumbled upon an ad of a guy selling African Nightcrawlers. Apparently, this type of worms is used for composting. I was amazed. These worms eat organic garbage and their castings (poop) make for rich fertilizer called vermicompost. I was hooked on the concept. After all, I am the same guy that saves rainwater to flush the toilet and uses old bottles as flower pots. The recycling angle tickled me.
So I happily bought 250 grams worth of African Nightcrawlers for P250. Yes, they are expensive. For lack of a container to transport them in, we used the Starbucks grande cup that I just used. Grande worms!
Over the past few months, I have been attempting to compost in a large pot, but it was just happening so slowly. Nonetheless, that was my source of somewhat decayed organic material. Where does that come in?
Well, to create a good environment for the worms, you need bedding made up of shredded wet newspaper and some semi-composted material. So I put in the newspaper in the bin and added the contents from the pot I talked about. Then I put in the worms.
Two months and regular inputs later, here's how my bin looks like. Still lots of green material, right? Makes me scratch my head sometimes. Then again I have been regularly putting in fresh stuff. I guess for me to really observe the conversion of organic material to worm castings, I have to stop feeding the worms. Sigh. But it's so much fun. Oh well. I will try to leave this bin alone (no feeding) for about two weeks. Let's see what it looks like then.
Next time, I'll talk about worm bin # 2.


Tuesday, August 31, 2010
Herbs as Wedding Favors
A while back, I talked about dabbling in herb wedding favors. So I put my herbs in cute little pots and wrapped a ribbon around them. Feel free to check out my samples. Anyway, even small plants grow and that's what happened to one of my models. Check out the before (look at the Japanese mint in the small red pot with the lavender ribbon) and after shots. I'm gonna have to re-pot that one. It looks wild with growth in that small pot already.


Wednesday, August 25, 2010
Saving a Dying Japanese Mint
Check out the before and after shots of a Japanese Mint plant. The "before" shot was taken 25 days ago and the "after" shot was taken today. As you can see, the plant has visibly perked up since almost dying a month ago. What happened? Well, I saw this sickly plant in my garden and figured that it might be sun deprivation or over watering. To resolve both problems, I tied the pot with straw and hung it on a sunny wall. True enough, a month later, no more crumpled leaves. And there's even a new shoot growing. Ah, the sun can do wonders for our plants.


Friday, August 20, 2010
Sweet Basil: Wick Watering Update
Remember my post on wick watering? Basically, I wanted to see if my basil will thrive with a wick watering set-up. I placed my sweet basil in a yogurt cup and had a wick at the bottom. The cup is contained in a larger cup with a hole about an inch from the bottom to ensure that rains won't drown my sweet basil. Guess what? It's been two months already. I'll let the results speak for themselves. Here are the before and after photos:


As you can see, the plants are really big enough. In fact, I've pruned them before I took this picture. You won't see it in the picture, but I don't even need the wick anymore. Roots have gone through the drainage holes. It's a pretty cool set-up. I can water and leave them since the water will be good for a couple of days. If it rains, the excess water just drains out.


As you can see, the plants are really big enough. In fact, I've pruned them before I took this picture. You won't see it in the picture, but I don't even need the wick anymore. Roots have gone through the drainage holes. It's a pretty cool set-up. I can water and leave them since the water will be good for a couple of days. If it rains, the excess water just drains out.
Wednesday, August 04, 2010
Hydrangea Propagation: Stem Cutting
It's been a while since I tried propagating my hydrangea. I've had about 5-6 cuttings in the past and almost all of them wilted in a week. However, one survived. For about a month and a half, it remained fresh in a glass of water, but it wasn't rooting or growing any new leaves or stems. Now, about three months later, the stem cutting is finally ready for planting. If you see the picture, it has new stem and leaf growth and it has nice white roots. I'm not sure why this one survived. I didn't use honey or any rooting hormone. As a matter of fact, the stem cutting which I smeared with honey died very quickly. I think ants ate it. Maybe my shears was clean when I cut it. I really don't know. I do know now that stem cutting works for propagating hydrangea. It has a low survival rate, but it can work.


Tuesday, August 03, 2010
RIP: Melon
I really blew it. Just a few days ago, my big melon plant started fruiting. And now it's dead. Ah yes, my cruel fate.
Rewind a little. How did I go from peak to trough in record time? Well it's like this. I wanted to make sure the fruit grows and ripens. So I wanted to protect the plant from more bugs, which have been eating the leaves. I sprayed the leaves with a dishwashing soap solution. In hindsight, my solution may have been too strong. By the end of the morning, all the leaves have wilted. Sigh. Just when I thought my gardening has finally paid off. Tsk.
Rewind a little. How did I go from peak to trough in record time? Well it's like this. I wanted to make sure the fruit grows and ripens. So I wanted to protect the plant from more bugs, which have been eating the leaves. I sprayed the leaves with a dishwashing soap solution. In hindsight, my solution may have been too strong. By the end of the morning, all the leaves have wilted. Sigh. Just when I thought my gardening has finally paid off. Tsk.
Friday, July 30, 2010
MY MELON BEARS FRUIT!
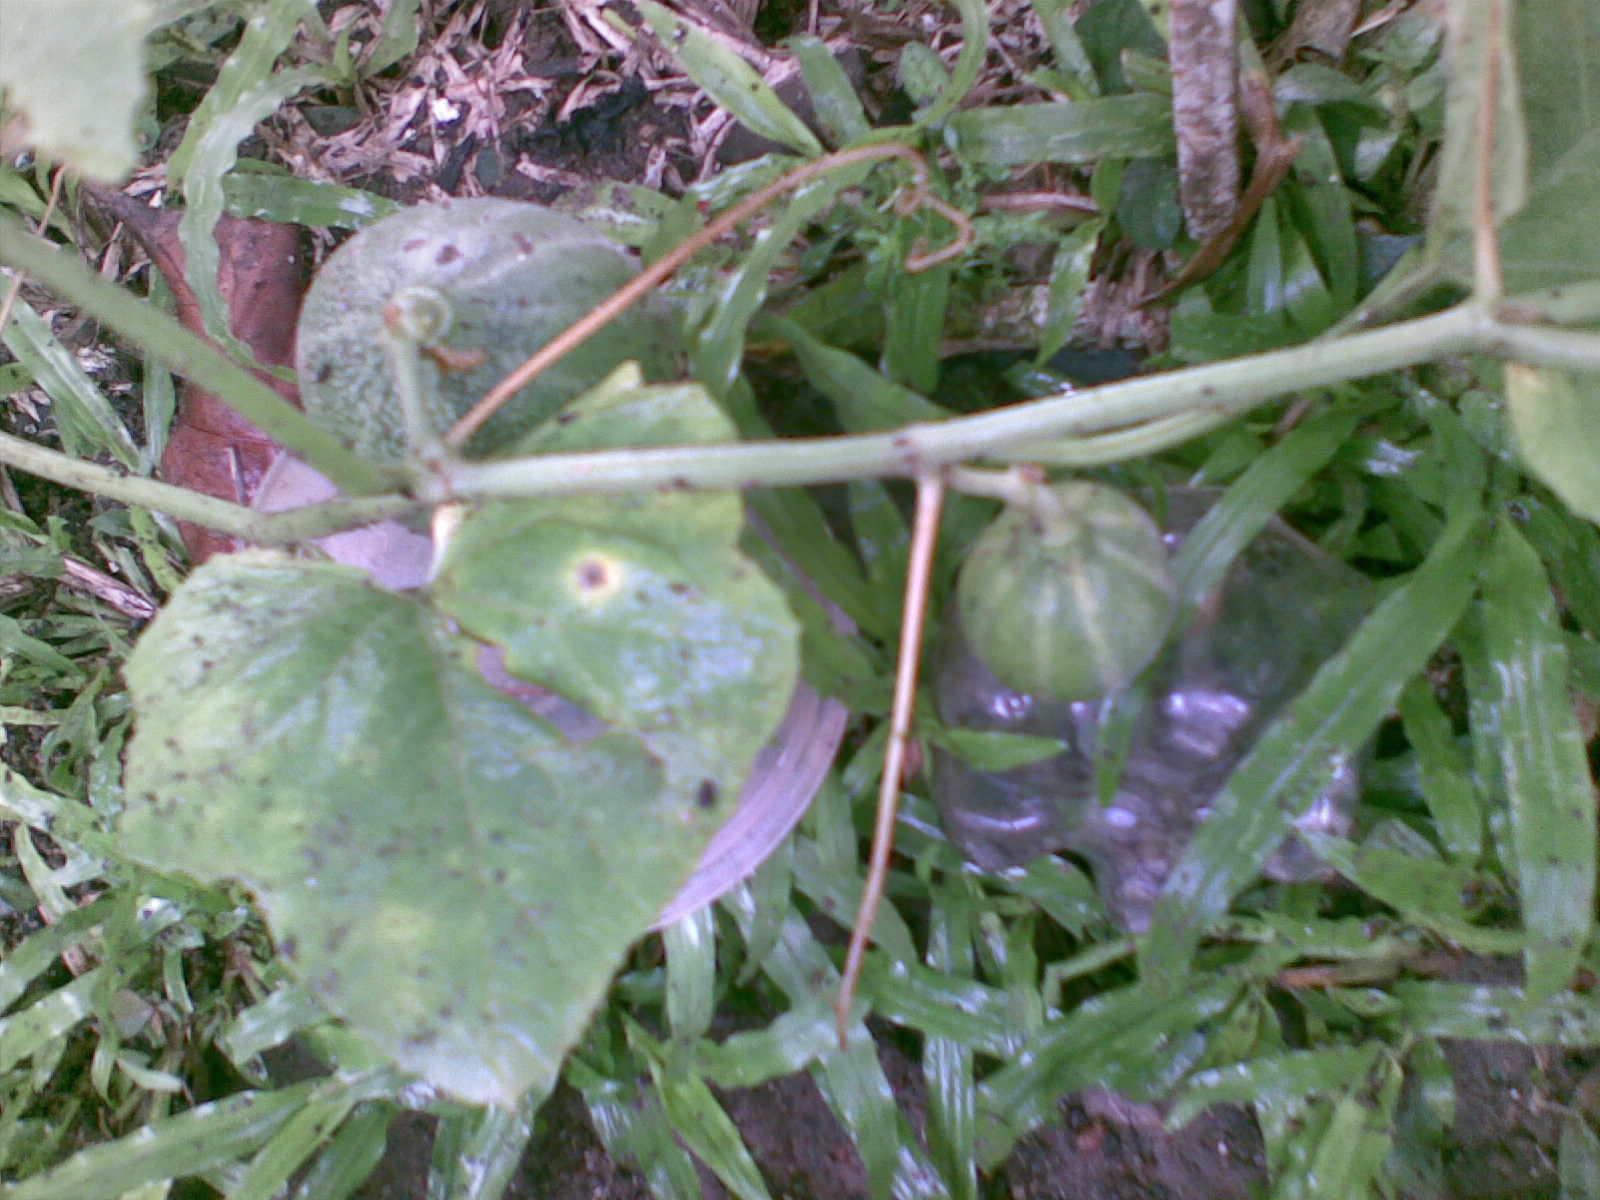
Yehey! Something in my makeshift garden finally did something right. My big melon finally bore fruit. They're still small (two of them), but they're unmistakably melons. That's what surprised me today. I was just wondering why the tendrils weren't holding the vine up. So that's why! The vine's heavier because of the small fruits. And it's just been like two and half months since I spread melon seeds. Jean said I should wrap them in plastic bags to keep rot and insects away. I will...maybe tomorrow. For now I'm just glad even though the leaves are being eaten steadily by bugs. Dang bugs.
As an afterthought, the melon performance varies greatly with the amount of sun available. I think I mentioned before that the melons in the backyard are either anemic or dead. That's because there's limited sun in the backyard. Now if only my tomatoes bear fruit!


As an afterthought, the melon performance varies greatly with the amount of sun available. I think I mentioned before that the melons in the backyard are either anemic or dead. That's because there's limited sun in the backyard. Now if only my tomatoes bear fruit!


Monday, July 19, 2010
Fatal Pruning: Not Cleaning Your Shears
Nothing's been happening to my garden lately. Some of my plants are due for a good prune, like my Cinnamon Basil and my Lemon Mint. But in the past couple of months, some of my pruning sessions end up killing the mother plant. Cases in point: my poinsettia dried up a few days after I pruned it; my Malvarosa deteriorated (and is still ongoing) after I pruned it; and my erstwhile prolific Japanese and Chocolate mints died after pruning. Now, I think I know why. I didn't have the habit of cleaning my shears after every use. I think I ended up infecting every plant that I pruned because I didn't disinfect my shears. Tsk. Well that's a lesson learned for me. So guys, after every use make sure you wash, soap and wipe your shears with alcohol just to be on the safe side. Instead of making your plants bushier, you might end up killing them like I did.
Monday, July 12, 2010
Three Basils in a Row

Sunday, July 11, 2010
Big Melons and Flowers

 It's funny sometimes how the ones you don't pay attention to grow the most. In my last melon post, I talked about the fast growing melons in my backyard. Most of them are half dead now, either half eaten by insects or probably victims of root rot. Still, if you've been checking out my blog, you'd probably guess that my basil plants are my favorites and therefore get the most attention. While my basil plants have been recovering (not exactly growing their hearts out), one of the melons in my front yard has exploded in growth. It's cohabiting a pot with a tomato (yes, probably not the wisest choice). It's partly because I had no idea it would grow this big. As you can see, it has crawled over the adjacent green pot and all the way down the metal grill and has started flowering. How great is that? My tomato is overdue for fruiting and its the melon that decides to flower. Well, I'll take it! Just give me anything that will make me feel like gardening is worthwhile. ;-)
As for care, well I make sure to water that pot heavily everyday given the size of the two cohabitants. You think either will actually bear fruit? Only time will tell.
Saturday, July 10, 2010
How to Mix Your Own Bug Spray
I've had so many bugs in my garden like you can't imagine! Ants, wormy like things, spider mites, leaf miners and mosquitoes. It's crazy. So whenever I don't spray my plants for a couple of days, they look like they've been under attack. Before, I used basic soap solution to spray my plants (especially the underside of the leaves). I've tried both bath soap and dish washing soap. The downside is the potential leaf burn. In fact, I think that's how I killed my Hannah Leah (Mona Lavender Plecanthrus) and I think may be a reason why my big tomato looks burned out. Once in a while, I also add chili peppers to my spray. Lately though, I've added another component. Vegetable oil is supposed to work. But since I'm such a recycler, I tried using used cooking oil (fried chicken!). Hahaha...I hope that's okay. The bugs might enjoy eating my plants more if they have that KFC twist. But guess what? My sprayer has been acting up for a couple of months (limited spraying power). I've tried to fix it. But as soon as I added oil to my mix, it regained its spraying power. Apparently, oil lubricates sprayers too. So for now, my home made bug spray consists of soap solution with chili pepper and a little oil.
As a final point, apparently spider mites thrive on very dry environments. Well, I've been trying to keep my plants dry because I've been trying to avoidroot rot. Too wet...too dry...there's just no winning sometimes.
Know any good home made sprays?
As a final point, apparently spider mites thrive on very dry environments. Well, I've been trying to keep my plants dry because I've been trying to avoid
Know any good home made sprays?
Wednesday, July 07, 2010
Malvarosa Propagation: The Experience
My Malvarosa has gone through a lot of changes. First it really outgrew its small pot. Then it started struggling after I moved it to a bigger pot, I think partly because of the incessant rains last month. In fact, I ended up moving it back to a smaller pot. And even then I saw that it had less roots remaining. I've also tried propagating it several times. First I took a couple of Malvarosa stalks and tried rooting them in water. They survived a good week but eventually rotted. Then since the main Malvarosa plant was big enough, I cut a big stem and placed it in good soil. Within a week, it dried up even though I watered it regularly. So now I'm not sure how to propagate it. After all, most of the readings say stem cutting works. Maybe next time I'll try main stem cutting in water. I hope that works. But first, my main plant has to survive. It doesn't look so good these days. Wish me luck!
Subscribe to:
Posts (Atom)
