
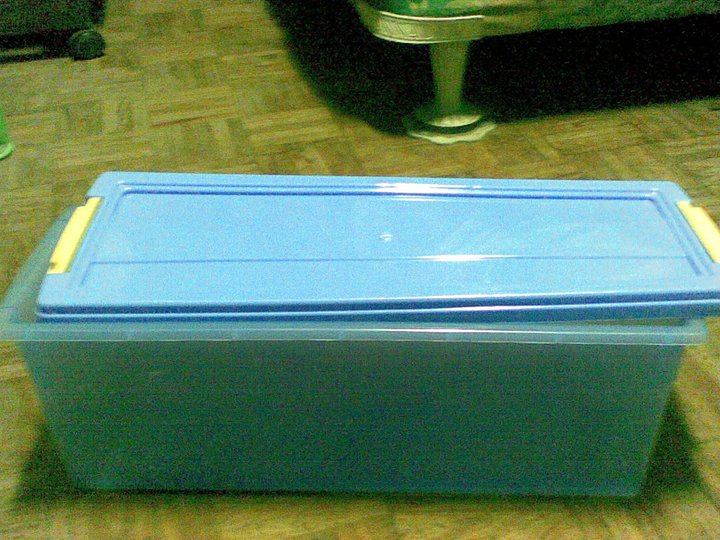
 Anyway, like a true worm head, I was nonetheless happy because I got to create a new bin. I shall christen it Worm Bin 2a since I patterned the design from the first one. As you can see, it looks exactly like Worm Bin 2, only this time it's blue (my favorite color). But this time I resolved to do it in a cleaner fashion. The last time, I discovered that it was hard to punch holes in hard plastic using a screwdriver or an awl. I also think I've learned my lesson after stabbing myself recently.
  This time around, I used a soldering iron. I can't remember where I got the idea, but I figured this would be an easier way to put holes in the bin. And it costs about 3% of what a power drill would cost. True enough, one the iron was hot, it easily melted small holes into the container. I was done with the holes in about 5 minutes (although it comes with fumes).
  Similarly, I also melted holes at the top. Those are big holes but I made sure to tape some stockings cloth underneath to prevent pests from coming or my worms from escaping. The difference now though is that I also melted holes at the sides. Why? Well, if I ever need to stack bins (looking forward to more worms!), air can still circulate in the bin.
 Finally, I taped some glossy paper around the sides because my bin is quite transparent and worms don't like light. I made it a lot neater than my first one too. I actually measured the stuff I taped around so it doesn't look messy.
 As a final point, I still didn't put any drainage since it is a small bin and I have absolute control with the moisture level. With all the steps replicated, all that's left now is to get a couple of worms (along with the substrate) and to place them on this bin. I'll moisten the contents now and then but I probably won't put any more food or bedding just yet. I don't have to inoculate the bin since I'll be putting existing substrate.
And that's a wrap!


You saved me a mistake! I have a couple of clear bins floating around the house and I was considering those for my first worm bin. Guess I'll use the opaque ones I have instead. :)
ReplyDeleteClear ones are fine too. Just cover them on the outside with some glossy paper or tape.
ReplyDelete