Anyway, I've been fiddling around with composting worms the past few months. I've got a couple of containers with different set-ups but not really a whole lot of worms since I just bought 250 grams (including substrate) about three months ago. Unlike my manure exercise back in high school, I found vermicomposting very exciting because it gives me a chance to utilize kitchen scraps and yard waste. That's great on a micro level. But it also intrigued my imagination because it can positively impact the country's garbage situation. And so I was immediately hooked.
This brings me to my topic for today. I want to be able to utilize all my kitchen scraps, but I will surely get at least one objection to bringing worms into the house. Thus, instead of an indoor worm composting bin, I will just use it as a composting bin (without the worms). Once it's full, I'll move it outside and introduce the worms. I think it'll also give the greens a chance to lose some heat before I add the worms. I've heard that decomposing stuff can generate heat enough to kill worms.
That said, this is how I created this indoor compost container / vermicompost bin.
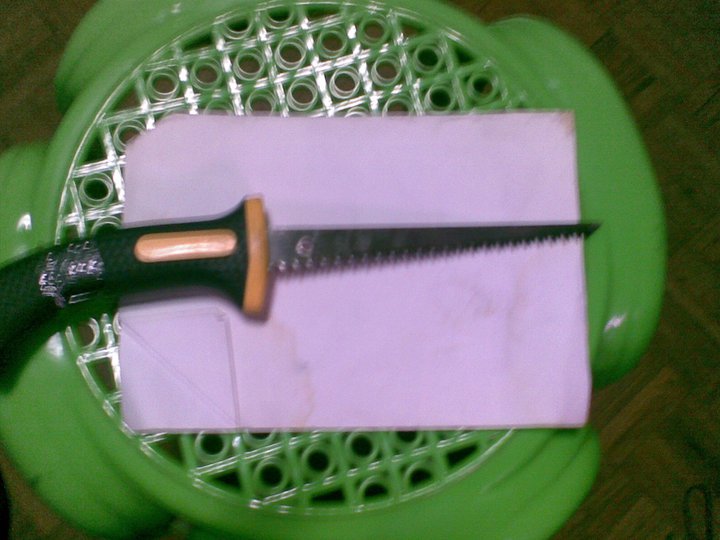
 I used an old 5-gallon round water container. I have lots of those since I sell alkaline water (free plug). It was actually leaking already and resisted our various attempts to seal it. I sawed it near the top using my high school vintage hacksaw. Unfortunately, my hacksaw wasn't very cooperative. The rusted blade snapped. So I went to a local hardware store (Circle C) to get a blade, but they didn't have any. I decided to get an entirely new saw. The new one's called a drywall saw, although I'm not sure what that is. The saw packaging included a warning that the saw was very sharp.
 Once home, I started cutting through the container again. You won't believe how tough that PET container was. Flashback a few weeks ago. I was trying to put a hole into a small pot by stabbing the bottom with an icepick. My aim slipped and I ended up stabbing my left forefinger. It bled intermittently for several days and was swollen for over a week. Back to the present, while sawing finishing touches into the 5-gallon container, I ended up sawing the same injured finger! I guess that settles it. I am no handyman.
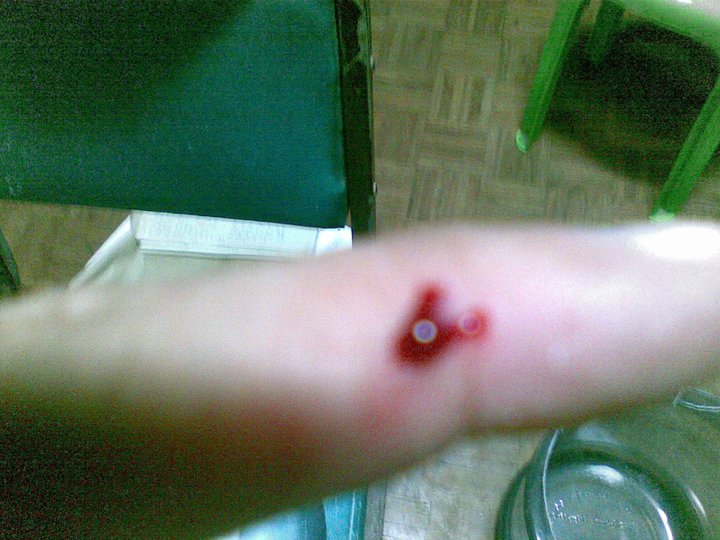

 With all the blood work done, I then tried out the bin. As you can see, the upper part is bigger and serves perfectly as a lid (it doesn't slide off). I sealed the mouth with stockings and packing tape. That ensures aeration but keeps insects out. I put in a lot of bedding; I've read that bedding should be about 3/4 of the bin. I changed my mind though. I'll just intersperse the bedding with the greens. Since I have frozen pruned leaves and stuff in the freezer, I placed those in the bin with the bedding. Check out my various shots so it gets more visual for you.
  As I mentioned, this was to be an indoor bin. As of today, I've placed about 4-5 layers of greens and I have to say, there's really no smell. Then again I left it a little dry since there are no worms yet and it's usually excess moisture that brings about the bad smell. I am thinking I'll be using this for a couple of months. I won't even hesitate to put onions and citrus since it doesn't have worms yet.
  When it's time to replace the bin, I'll just make a new one. I have no shortage of containers in bad condition anyway. As for this one, I'll place it outdoors (but not under the sun) and introduce worms. I don't think I'll need to wait any further since part of the contents would have partly decomposed already. Why did I say that? Well I've read that worms actually eat the "decomposer" microbes and not so much the actual organic matter. Therefore, before introducing worms to a bin, leave the wet bedding and the food for about a week or so that microbes can settle in and multiply, thereby providing the worms with food.
  Going back, I will probably just add moisture once in while to make it a good habitat for worms. I've also read that nothing kills worms faster than a dry environment. And that's it. My indoor compost container / vermicompost bin.
0 comments:
Post a Comment
No spamming please. ;-)